> ## Documentation Index
> Fetch the complete documentation index at: https://helix-claude-document-return-objects-rxi6v.mintlify.site/llms.txt
> Use this file to discover all available pages before exploring further.
# Quick Start
> In this quickstart, you can choose to run a quick demo using the Python, TypeScript, Rust, or Go SDKs, or set up a Next.js app for a website that queries HelixDB.
Rust version 1.88.0 or higher is required. Make sure you have an updated
version of Rust installed. Run `rustup update` to update your Rust version.
Install the HelixCLI using the following command
```bash theme={null}
curl -sSL https://install.helix-db.com | bash
```
### Verify Installation
To verify that HelixCLI is installed correctly, run:
```bash theme={null}
helix --version
```
Install the Helix container using the following command
```bash theme={null}
helix install
```
The quickstart demos showcase a social network application with the following features:
**Schema Overview:**
* **Users**: Store user profiles with name, age, email, and timestamps
* **Posts**: Store user-generated content with timestamps
* **Relationships**: Users can follow each other (`Follows` edge) and create posts (`Created` edge)
* **Vector Search**: Posts can have embeddings for semantic search capabilities
**Key Queries In The Demo:**
* Create users, posts, and follow relationships
* Retrieve users and posts
* Find posts by specific users
* Get followers and following lists
* Create and search post embeddings for semantic similarity
Inside the [Quickstart](https://github.com/HelixDB/quickstart) repo, there are `go`, `python`, `typescript`, `rust`, and a website demo that show you how to use the SDKs to interact with HelixDB. These demos run scripts to automatically ingest sample data into HelixDB and demonstrate how to retrieve data from HelixDB.
### Clone the Quickstart repo
```bash theme={null}
git clone https://github.com/HelixDB/quickstart.git
cd quickstart
```
### Deploy the HelixDB instance for the demo
```bash theme={null}
cd helixdb-cfg
helix deploy
```
**Now you can run the quickstart demo with the following SDKs or a Next.js website:**
#### Option 1: Running using Go
```bash theme={null}
cd go
go run main.go
```
#### Option 2: Running using Python
using uv:
```bash theme={null}
cd python
uv venv
uv sync
uv run getting_started.py
```
or with pip:
```bash theme={null}
cd python
python -m venv venv
source venv/bin/activate
pip install -r requirements.txt
python getting_started.py
```
#### Option 3: Running using TypeScript
```bash theme={null}
cd typescript
npm install
npm start
```
#### Option 4: Running using Rust
```bash theme={null}
cd rust
cargo run
```
#### Option 5: Running the Website Demo
This demo uses Nextjs, and you can choose between the backends inside the `website_demo` folder: `rust_backend`, `python_backend`, and `go_backend` to query HelixDB or you can also send requests using Next.js as well.
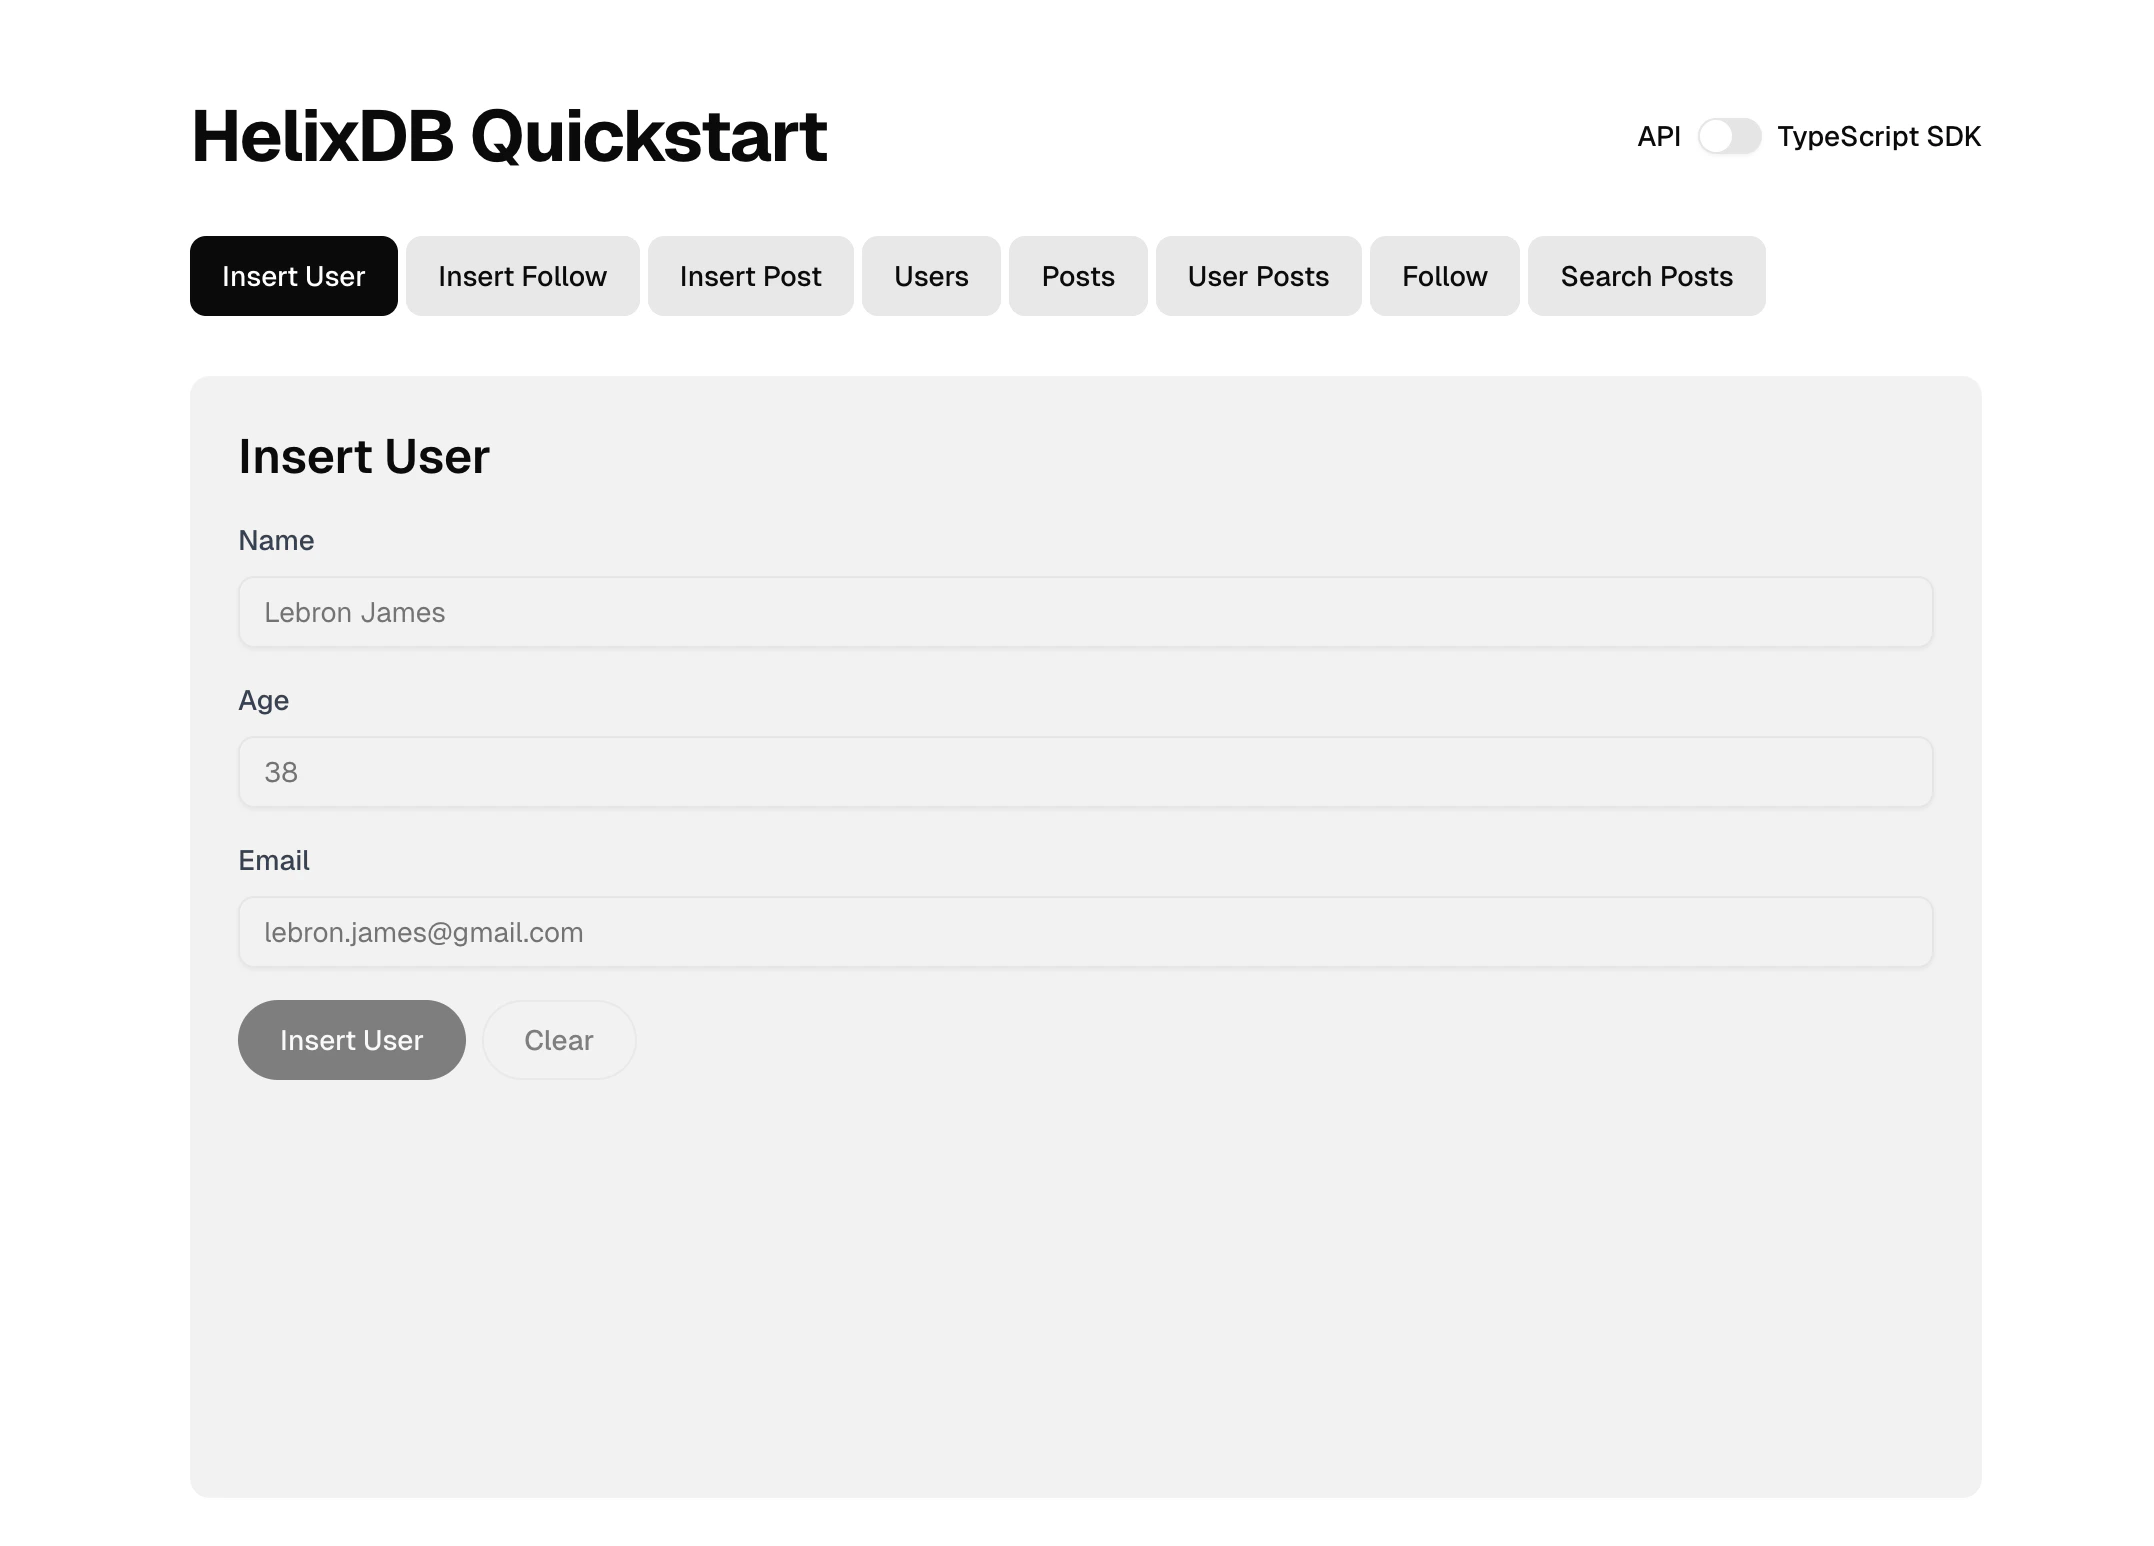 ```bash theme={null}
cd website_demo
npm install
npm run dev
```
***
To learn more about how the SDKs work, you can check out the following guides:
* [Python SDK](../sdks/helix-py)
* [TypeScript SDK](../sdks/helix-ts)
* [Rust SDK](../sdks/helix-rs)
* [Go SDK](../sdks/helix-go)
```bash theme={null}
cd website_demo
npm install
npm run dev
```
***
To learn more about how the SDKs work, you can check out the following guides:
* [Python SDK](../sdks/helix-py)
* [TypeScript SDK](../sdks/helix-ts)
* [Rust SDK](../sdks/helix-rs)
* [Go SDK](../sdks/helix-go)